How to brew Moka Pot coffee
The equipment and the process to get that perfect Moka pot brew!
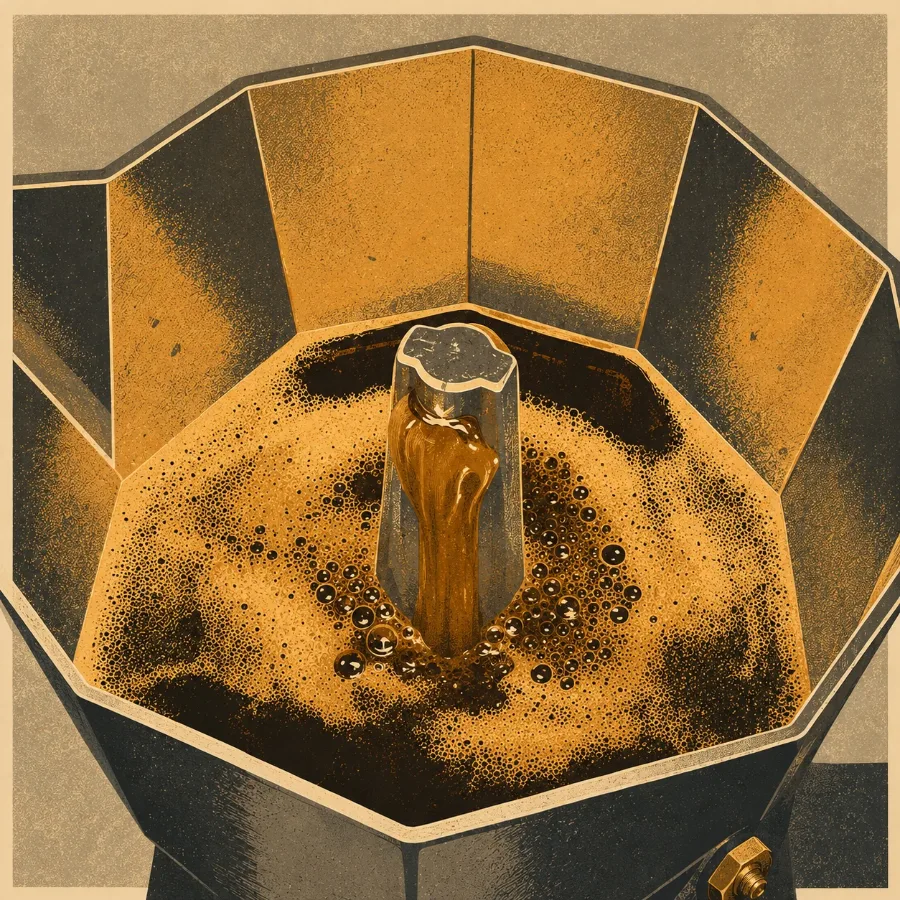
As soon as you start down the rabbit hole of home-brew coffee, you are bound to come across the Moka pot. This pressure-based brewer, invented way back in 1933, is affordable, relatively easy to use and makes great coffee. It is no surprise then that it's one of the most popular methods of brewing coffee at home. However, the process of brewing in a Moka pot needs some care, but once you get used to it - you will be enjoying great coffee every single day - and even look forward to the routine.
Let's dive into it!
Equipment Needed
Assuming you already have a Moka pot (this post is about using one after all :P), here's the equipment I would recommend. (Aside: More about Moka pots here)
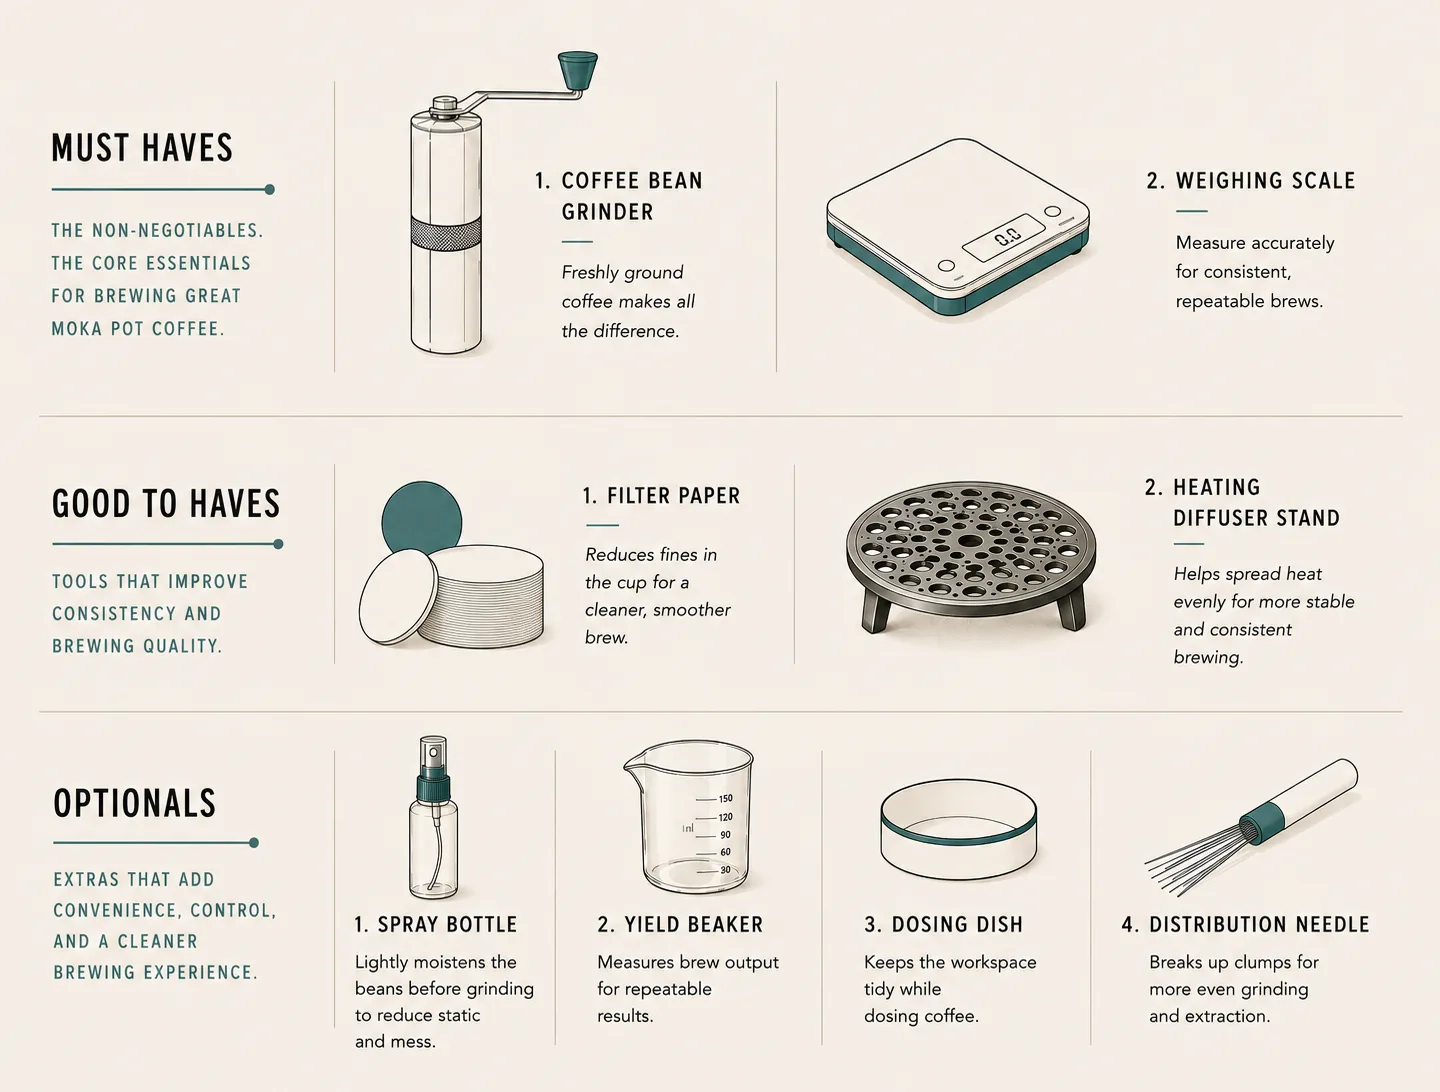
Must Haves:
- A coffee grinder - If you are just testing the waters, a cheap ceramic burr grinder is okay. But for the long term - get a good steel burr grinder. Read this to know why it matters.
- A weighing scale - You should always grind the exact amount of coffee that your pot needs. Moka pots are rated according to the number of cups of coffee they yield, and their 'basket' is sized accordingly. For example, a 2up Bialetti holds 12g of coffee grounds. So, weigh and grind only the required amount to avoid wastage.
Good To Haves
These are not essential, but will make your brew better.
- Filter Paper - These are useful in more than one way. First, a filter paper increases the resistance the water has to overcome before passing through the grounds - this theoretically improves extraction. (On the flip side, fine grounds + filter paper can jam up your pot, and lead to over extracted bitter coffee.) Second, it prevents finer grounds from rising up into the top chamber, This is more about the experience - you do not want to feel coffee grit in your mouth!
- Heat Diffuser - If you are using your Moka pot with a gas stove, the pan support/grate is usually larger than the pot's diameter, and thus it has to rest directly on the burner. This is not ideal; the diffuser helps mitigate this.
Optionals
These are strictly optional, but add to the enjoyment of your coffee routine, and in some ways can improve your coffee marginally.
- Spray bottle - If you live in a dry region, and you use a grinder with steel burrs, this might actually be an essential item. A small spray bottle for water. Ensure it sprays a mist and does not dribble. This is especially useful in dry weather, when using a metal burr grinder. Dry weather can lead to static buildup during grinding and choking in your moka pot due to clumping. Spray the beans a couple of times before grinding. However, if you do not have a spray bottle, you can simply take a spoon, dip its "wrong end" in water, and stir it in the beans. Works equally well.
- Yield beaker - This is purely for data collection - it helps you see how much coffee are you getting out of your pot, and how consistently.
- Dosing dish - A vanity item. Makes it more fun!
- Distribution or WDT needle - This is usually not needed, but if your grounds are moist, it can help break up the clumps.
The Process
Now that you understand the equipment, here's how to go about brewing your coffee.
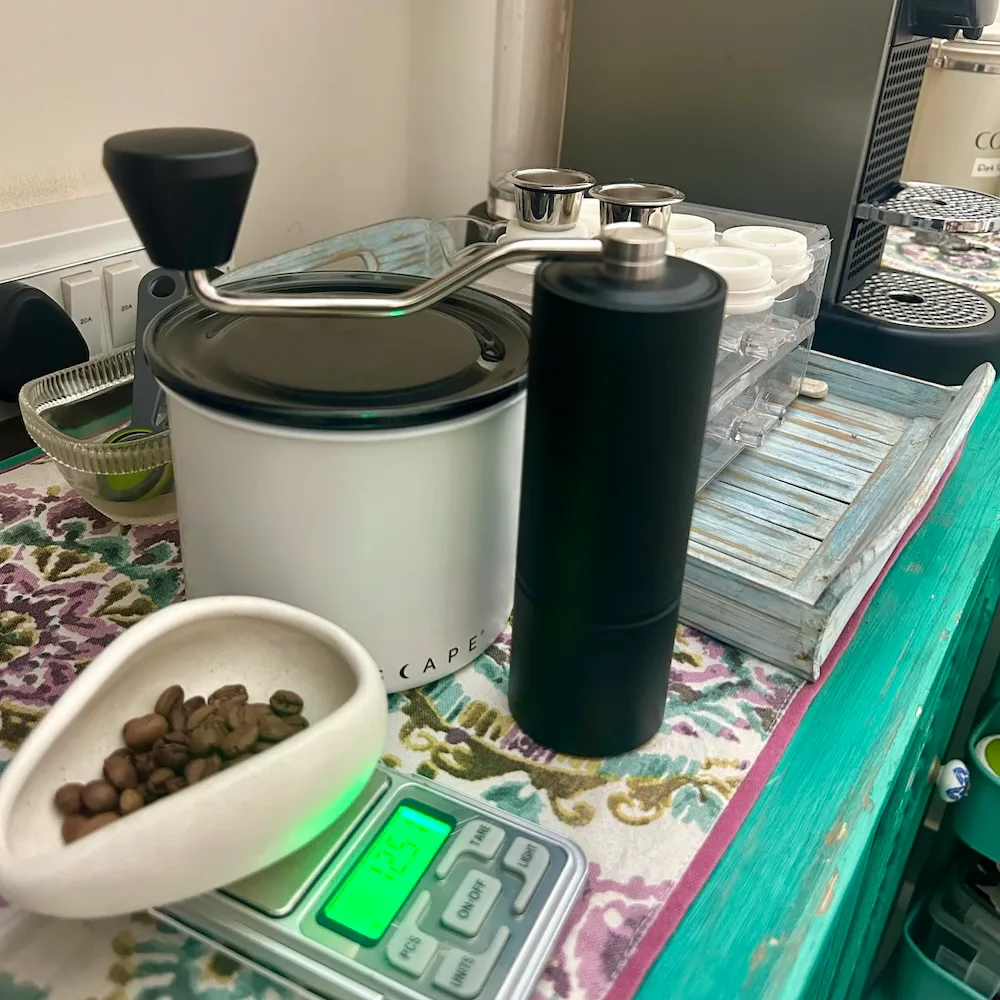
- Weigh your beans - Based on your pot capacity, weigh out the exact amount needed. I usually do this in my dosing dish.
- Spritz - If needed, spray your beans with water.
- Measure the water needed - Fill up your Moka pot to about 0.5-1cm under the valve. If you are planning to make an Americano, add roughly the same amount of water (that's the ratio I prefer - you might want to reduce/increase or not have more water at all).
- Heat the water - Most people miss this step, but trust me it's an important one. I usually use an electric kettle - pour out the water you measured and put it to heat while you do the rest of the prep.
- Grind your beans - Depending on the grinder you have, the grind setting for a Moka pot will be different. To eyeball it, it should be roughly the size of common salt grains. I usually go slightly finer - it makes the coffee stronger.
- Dose the basket - Empty the coffee grounds into the Moka pot basket. Do it in batches - add some grounds, tap the basket to level, repeat till full. Keep the basket aside. Loosen any clumps with the WDT needle.
- Fill up the Moka pot boiler - By now the water in the kettle/on the stove must be hot enough. You don't need it to be boiling - but decently hot. Fill up the Moka pot's lower chamber, then place the basket (with the grounds).
- Optional - Use a filter paper - Put the filter paper under the Moka pot's filter, and put some (very little) hot water over it. This helps the filter paper stick to the filter, and also remove any residual paper fibers.
- Screw on the top chamber - CAUTION: Use a napkin to hold the lower chamber/boiler, it will be hot! Screw on the top chamber on the boiler tightly - but don't overdo it, it might damage the threads.
- Place it on heat - Open the top chamber cap, and place the pot on the heat. Use a diffuser. Keep the heat low - the flames should stay under the pot - not lick its sides. DO NOT STEP AWAY!
- Watch the moka pot - This may sound obvious, but it's a critical step. As the water in the boiler is already hot, it won't take long for your coffee to brew. As soon as the coffee starts collecting in the top chamber, get ready to move the pot away from the heat - the flow will accelerate and soon you will see foam+light colored coffee coming out - pull the pot away at this instant. The residual heat will push the rest of the coffee out.
- IMMEDIATELY pour - Do not let the brewed coffee sit in the pot - immediately pour it out in your cup.
Optional - Top it up with hot water and enjoy your cup!